What is Cloud Agent on Android: Explained
Are you curious about Cloud Agent on Android? Wondering what it is and how it can benefit you? Look no further. In this blog, we will delve into the world of Cloud Agent and explore its features, advantages, and disadvantages. We will also discuss which Android phones come with pre-installed Cloud Agent and how to use it effectively.
Additionally, we will provide troubleshooting tips for common issues that users may encounter. Whether you are a tech enthusiast or simply looking for ways to optimize your device’s performance, this blog has got you covered. Get ready to unlock the power of Cloud Agent on your Android device!
What is Cloud Agent?
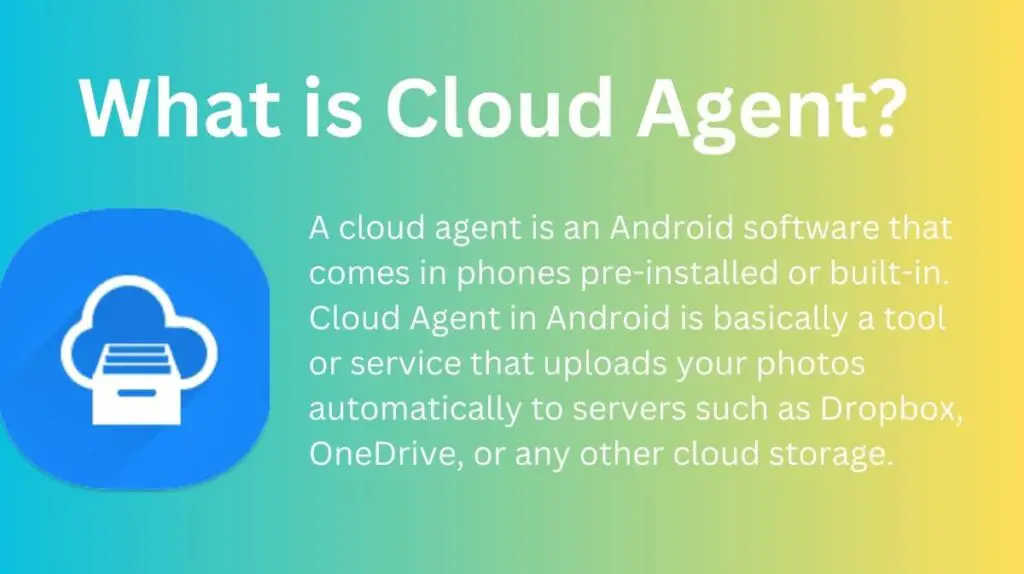
Cloud Agent on Android devices, specifically available on select Samsung models, serves as a pre-installed system designed to seamlessly upload Gallery items to a cloud-based space within your Samsung account. Operating akin to Dropbox, Cloud Agent functions as an integrated system tailored for Android, with its primary purpose being the storage and synchronization of photos to your Cloud Agent account. This feature proves especially advantageous for devices with limited memory, offering a practical solution to safeguard and store files without compromising accessibility through the device’s gallery interface.
Which Android phones come with Cloud Agent?
Cloud Agent is integrated into specific Samsung handsets, with its presence more common in older models like Samsung Galaxy Note 2 and Samsung Galaxy Avant, as opposed to newer variants. Its fundamental role involves automatically transferring photos captured through the native Samsung camera app from the device’s memory to a linked Samsung account, simplifying data storage and accessibility.

Advantages of Cloud Agent on Android-
Easily usable and accessible
Cloud Agent offers a user-friendly interface, featuring a straightforward drag-and-drop function within the Samsung Gallery, simplifying its usability. Beyond this intuitive approach, Cloud Agent’s high accessibility is notable.
Duplicating Gallery items to your Samsung account, seamless importation of videos, GIFs, and images to another device is facilitated, contingent on the presence of your linked Samsung account on the target device. This ensures effortless access to your stored content and reinforces the practicality of Cloud Agent for data migration.
Automation
Automation is a pivotal advantage of utilizing a Cloud Agent on Android. With its built-in capabilities, Cloud Agent can autonomously perform tasks such as scheduled backups, data synchronization, and file organization. This automation minimizes the need for manual intervention, ensuring that your important data is consistently and effortlessly backed up to the cloud.
Synchronization and Convenience
Synchronization and convenience form the core strengths of a Cloud Agent on Android. By facilitating seamless synchronization between devices and the cloud, the Cloud Agent ensures that your files, photos, and data are consistently up-to-date across all connected platforms.
This harmonization minimizes the hassle of manually transferring data between devices and promotes a cohesive digital experience. Moreover, the convenience factor is amplified through easy accessibility to your data from anywhere with an internet connection, streamlining data management, collaboration, and retrieval.
Disaster Recovery
Disaster recovery is a crucial benefit of leveraging a Cloud Agent on Android. In the face of unforeseen events like device loss, damage, or data corruption, the Cloud Agent acts as a secure repository, safeguarding your valuable files and information.
Automatically backing up your data to the cloud enables swift and efficient recovery, ensuring that your critical data remains accessible and intact even in challenging circumstances. This proactive approach to disaster recovery enhances data resilience and minimizes potential disruptions, providing peace of mind and reliable data restoration when needed most.
Disadvantages of Cloud Agent on Android-
Takes up too much space
One of the disadvantages of employing a Cloud Agent on Android is its potential to consume a significant amount of device storage. While the agent streamlines data synchronization and backup to the cloud, its own presence and associated processes can occupy a notable portion of your device’s memory.
This can contribute to reduced available storage for apps, media, and other files, potentially necessitating a trade-off between utilizing the Cloud Agent’s convenience and managing your device’s storage capacity efficiently.
Requires internet availability
A notable limitation of utilizing a Cloud Agent on Android is its dependency on consistent internet connectivity. To perform tasks such as data synchronization, backups, and remote access, the Cloud Agent relies on an active internet connection.
Consequently, without reliable internet availability, the functionality and accessibility of the Cloud Agent may be compromised, hindering your ability to perform tasks and access your stored data seamlessly. This requirement for internet access can impact user experience, particularly in situations where network connectivity is unreliable or unavailable.
Can cause errors on the device
One potential drawback of employing a Cloud Agent on Android is the possibility of introducing errors or disruptions to the device’s operation. The integration of the Cloud Agent’s processes and functions could interact with the device’s operating system or other applications, leading to conflicts or glitches that affect overall performance.
These errors might range from minor inconveniences to more significant issues that require troubleshooting or even lead to device instability. While such occurrences are not common, they underscore the importance of cautious implementation and regular updates to ensure compatibility and minimize the risk of errors arising from the use of a Cloud Agent on the Android device.
Can I delete the cloud agent on the device?
You can typically delete a Cloud Agent from your Android device if you no longer wish to use it. To do so, follow these general steps:
- Open Settings: Go to your device’s settings app.
- Apps or Applications: Look for an option named “Apps,” “Applications,” or “Application Manager” (the exact wording might vary depending on your device).
- Find the Cloud Agent: Scroll through the list of apps to find the Cloud Agent app you want to delete. It might have a name related to the specific Cloud Agent you’re using.
- App Info: Tap on the Cloud Agent app to open its App Info page.
- Uninstall: On the App Info page, you should see an option to “Uninstall.” Tap this option to begin the uninstallation process.
- Confirmation: A confirmation message will appear asking if you want to uninstall the app. Confirm your decision.
- Uninstallation: The Cloud Agent app will be removed from your device.
Keep in mind that the exact steps might vary depending on your device’s manufacturer and Android version. Additionally, deleting the Cloud Agent app will typically remove its functionality from your device, including any automated backup or synchronization features associated with it. If you have important data stored in the cloud through the Cloud Agent, make sure to back it up or download it before uninstalling the app to prevent any data loss.
What to do if Cloud Agent starts stopping on your Samsung
If you’re experiencing issues with the Cloud Agent on your Samsung device, there are several steps you can take to troubleshoot the problem. First, try clearing the app cache and data to resolve any potential conflicts. Updating the app to the latest version may also help fix any bugs or compatibility issues.
If these steps don’t work, you can try disabling and re-enabling the app to refresh its settings. In more severe cases, contacting Samsung support or visiting an authorized service center may be necessary.
1. Sign out and sign in again on the troubled cloud app
Follow these instructions:
- Access the Settings on your device.
- Navigate to the Apps section.
- Expand the list to view all installed applications.
- Locate and open the cloud service app that is causing the error within My Files (e.g., Google Drive, Dropbox, MEGA).
- Proceed to the Storage settings.
- Clear both Data and Cache for the app.
- Restart your device.
- Return to the App menu and launch the cloud service app again.
- Re-enter your login credentials to sign in.
To preemptively avoid issues, it is advisable to utilize the cloud application directly for accessing your storage, rather than integrating it into My Files. This is particularly pertinent for Dropbox and Google Drive, which have been known to exhibit compatibility issues. However, if integration is a necessity for you, please consult the subsequent step.
2. Check permissions
To assess storage permissions for My Files in the Settings, follow these steps:
- Launch the Settings app.
- Navigate to Apps or Application Manager and expand the list of all applications.
- Locate and select My Files from the list.
- Tap on Permissions.
- Choose Storage.
- Tap on the option to display all apps with this permission.
- Access the three-dot menu and opt for the Show system.

- Scroll through the list and find the relevant service (such as Drive or any other cloud service facing integration issues with My Files).
3. Reinstall the app
Another option is to opt for reinstallation and remain optimistic about the outcome. For instance, if you’re experiencing synchronization issues between cloud-service apps such as Google Drive and My Files, it’s recommended to uninstall the problematic app and then reinstall it. Here’s a step-by-step guide to assist you:
- Press and hold the troublesome cloud app icon either from the App drawer or the Home Screen.
- Drag the icon to the top of the screen to access the “Uninstall” option.
- Reboot your device.
- Launch the Play Store app.
- Search for Drive, Dropbox, or MEGA, and proceed to reinstall the chosen app.
4. Shut down Cloud Agent
The Cloud Agent Service functions as an Android System service responsible for integrating native and third-party cloud applications (such as Dropbox or Google Drive) into specific Samsung apps. To address the issue at hand, follow these steps:
- Launch the Settings app.
- Choose either Apps or Application Manager.
- Opt for Show system processes from the dropdown menu located beside Your apps.
- Locate and access Cloud Agent from the provided list.
- Once inside, clear the Data and proceed to tap Force Stop.
- Reboot your device.
5. Reset to factory settings
Here’s a step-by-step guide to performing the factory reset:
- Access the Settings on your device.
- Navigate to Backup & Restore or General Management.
- Select Factory Data Reset or Reset.
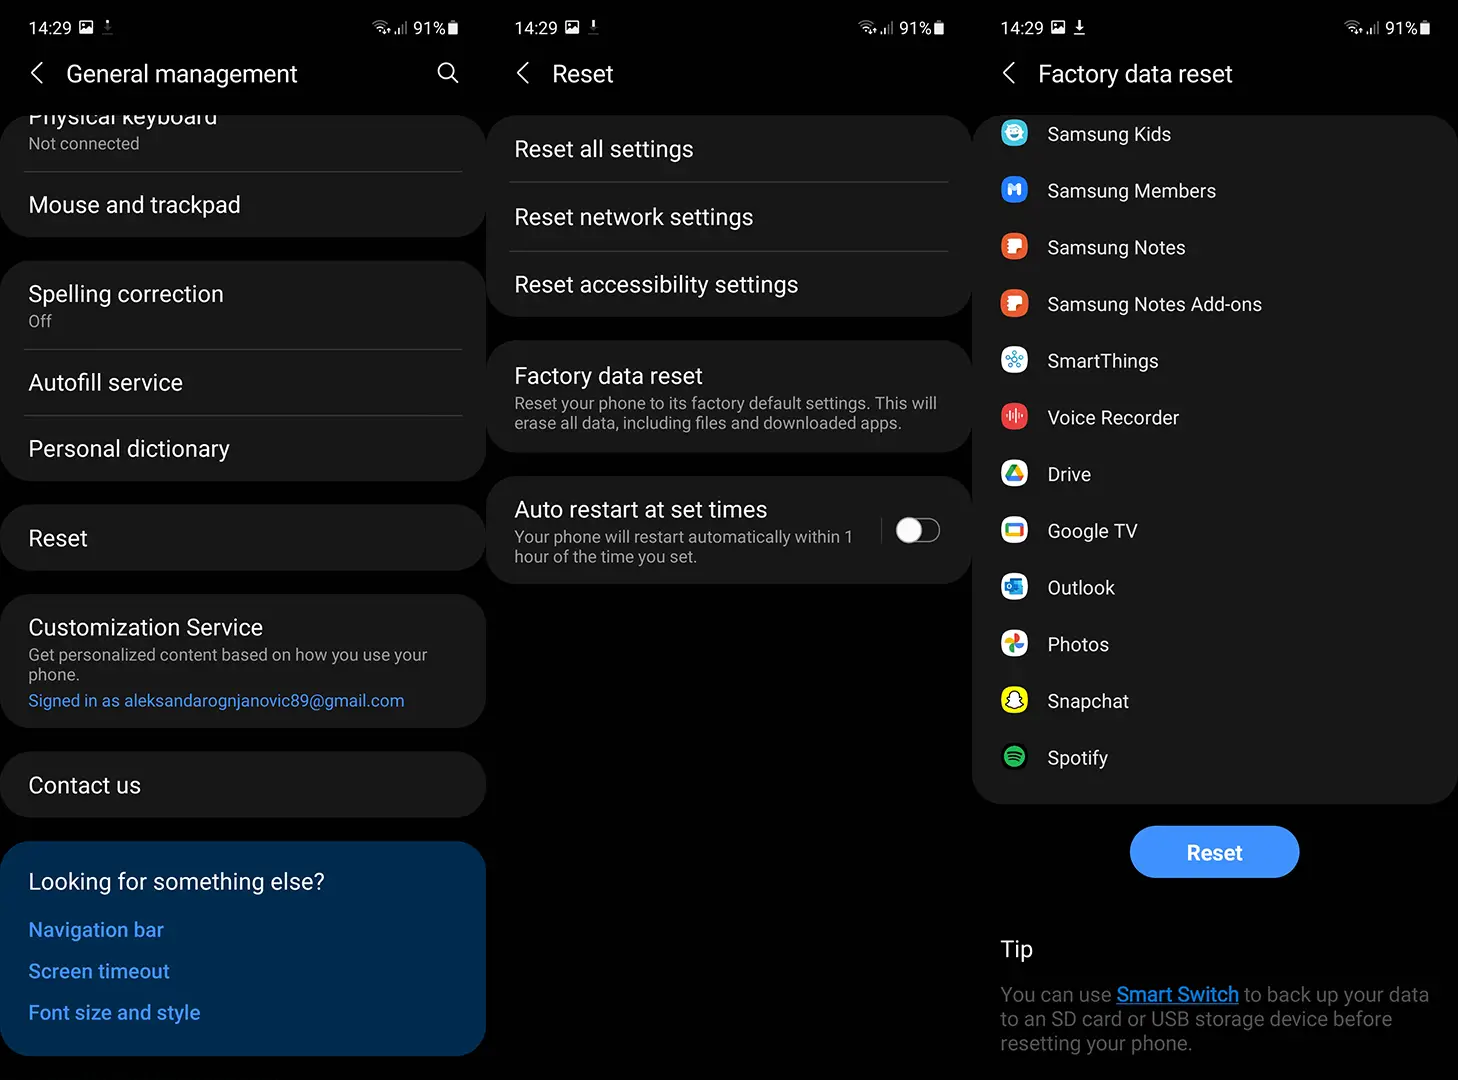
- Tap on Reset Device.
- Opt for Erase Everything.
- Confirm your choice and input your passcode or PIN if prompted.
- The process is anticipated to be completed within approximately 5-10 minutes.
Why is the “Cloud Agent” is Taking so much space on my phone?
The “Cloud Agent” is taking up so much space on your phone because you have turned on the “Camera Upload,” “Pictures Sync,” and “Video Sync” options in the Dropbox settings. These settings are causing the Cloud Agent to occupy a significant amount of storage on your phone. To free up space, you may consider disabling some of these options or managing your files within Dropbox.
Follow these steps to fix the issue of cloud agent taking space on your phone:
- Go to the main settings on your phone.
- Find the “Cloud” section or the specific Dropbox settings.
- Disable the “Pictures Sync” and “Video Sync” options from there.
- By turning off these options, the Cloud Agent won’t save any additional copies of your pictures and videos, thus saving space on your phone.
With these settings disabled, the Cloud Agent should no longer consume excessive storage on your device.
How to Fix Cloud Agent on Android?
I’ll provide some general steps that you can follow to troubleshoot and potentially fix issues with a cloud agent or cloud-related app on your Android device:
- Check Internet Connection: Ensure that your Android device is connected to the internet via Wi-Fi or mobile data. A stable and active internet connection is crucial for cloud services to function properly.
- Update the App: Make sure you are using the latest version of the cloud agent app. Go to the Google Play Store, search for the app, and update it if a new version is available. Outdated versions of apps can sometimes lead to compatibility and performance issues.
- Restart the App: Close the cloud agent app completely and then reopen it. This can help resolve minor glitches that might be affecting its functionality.
- Clear App Cache and Data: Go to Settings > Apps > [Cloud Agent App] > Storage. Tap on “Clear cache” and “Clear data.” This can sometimes resolve issues related to corrupt cache or app data.
- Check App Permissions: Make sure the app has the necessary permissions to access your device’s storage, camera, microphone, and other required features. Go to Settings > Apps > [Cloud Agent App] > Permissions.
- Check Account Credentials: If the cloud agent app requires you to sign in, verify that you are using the correct username and password. If you’ve forgotten your credentials, follow the app’s password recovery process.
- Restart Your Device: Sometimes, a simple device restart can resolve app-related issues.
- Check for System Updates: Ensure that your Android device’s operating system is up to date. Software updates can bring improvements and bug fixes that might affect the app’s performance.
- Uninstall and Reinstall the App: If none of the above steps work, you can try uninstalling the app and then reinstalling it from the Google Play Store. This can often resolve persistent issues.
Troubleshooting Tips for Cloud Agent on Android
To troubleshoot issues with a cloud agent app on your Android device, start by updating the app from the Play Store, checking your internet connection, and reviewing app permissions. Restart the app, clear cache/data, disable VPN/proxy and ensure correct date/time settings. Verify login credentials, consider reinstalling the app, and if problems persist, consult the app’s support for further assistance.
Conclusion
In conclusion, Cloud Agent on Android offers several advantages such as easy usability, cost-efficiency, automation, synchronization, and convenience. It also provides disaster recovery capabilities. However, there are some disadvantages to be aware of, such as the space it takes up on your device, the need for internet availability, and the potential for errors.
If you ever encounter issues with Cloud Agent, there are troubleshooting tips you can try, such as signing out and signing in again, checking permissions, reinstalling the app, shutting down Cloud Agent, or even resetting to factory settings.
Overall, Cloud Agent can be a valuable tool for managing your files and data on Android, but it’s important to be aware of its limitations and how to address any potential problems that may arise.