Saving Pictures from a Pantech Android Smartphone to an SD Card
If you’re a Pantech user looking for an easy way to save photos to your camera roll or SD card, you’ve come to the right place. Here’s how to save pictures from Android to SD cards on Pantech phones.
Saving Pictures from a Pantech Android Smartphone to an SD Card you can do other things as well like Changing the orientation and brightness of the photo, Changing the name of the photo, Changing the size of the photo, Copying the photo to the SD card.
If you have a smartphone that has a removable SD card, then you can use it to store pictures. (Some devices may have only a dedicated slot for SD cards, which is not the same thing.)
To move your photographs to an SD card, insert it into the device, and look for an option that says “SD card” or something similar. Some devices have a mode called “data transfer,” while others have an option labelled “SD card.” Hit one of these options, and you should find an option to “take a photo,” where you select the SD card you’d like to use.
Pantech’s Android lineup includes high-end phones with high-end features. But with such a powerful phone comes a powerful camera, which makes it easy to save photos to your phone’s SD card. You can transfer photos from your phone’s internal memory to an SD card using Connectify, a free app that lets you transfer files from one device to another.
If you’ve just upgraded to a new Android phone, and you don’t want to pay $40-$60 for a digital picture frame, you can use your old Android phone as a photo frame instead. All you need is a photo transfer app and a little patience.
About pantech smartphones
Pantech smartphones are created by Pantech, Inc., a South Korean manufacturer of mobile phone handsets, tablets, smartphone accessories, and other electronics. The company was founded in 1993 and first manufactured mobile phones in 1999. Pantech is headquartered in Seoul and has offices in New York, California, London, New Delhi, Shanghai, Beijing, Tokyo, and Hong Kong.
Pantech is a South Korean electronics company best known for making Android smartphones. Pantech’s smartphones run Android 5.1 Lollipop, which is the most current version of Google’s operating system. The Pantech Matrix P6 is one such device.
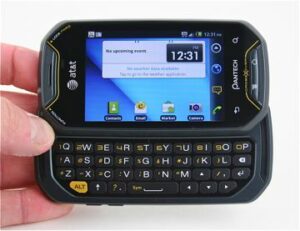
The Pantech Android Smartphone is an entry-level phone with enhanced features and upgraded specs. Its display is 720p HD, which delivers clear and vivid media. The 8MP camera can record HD 1080p videos. The Pantech Android Smartphone has a 3,000mAh battery and a 1.6Ghz quad-core processor for speed. The 8.0″ screen is that can be easily viewed in sunlight.
If you’re looking for a budget-friendly smartphone, the Pantech Android Smartphone is a great option. This basic phone features Android 4.4 KitKat, a 3.5-inch touch screen, expandable storage, and a 5-megapixel camera that snaps quality photos.
If you’re one of the many people who have upgraded to a Pantech Android smartphone, you might be wondering how to save pictures from your Pantech to an external SD card. Fortunately, Android provides several easy ways to accomplish this task, and, in this article, I’ll show you exactly how it’s done.
Pantech’s Android phones are known for their predominantly plastic bodies and cheap, built-in storage. However, these phones have one major advantage: they’re much easier to customize than new flagships like the Galaxy S21.
Most Android devices have a hidden menu that you can enable that allows you to move files between your internal storage and the SD card. This menu is hidden by default, but with some trial and error, you can turn it on and access it from the Settings panel. Here’s how to do it.
What you Can DO
A smartphone is only as good as its memory. If you have run out of space on your Pantech’s internal memory, you may want to consider swapping it out for an SD card. The Pantech’s built-in storage is 8 GB, so even if you didn’t use all the available space, it’ll still be a good idea to refill so that you have plenty of space.
One reason for this is that it will allow you to store more content on your device, including videos, photos, and music. Getting pictures on an SD card is surprisingly easy too, but it’s easy to mess up, so proceed with caution.
With more and more people using the cloud storage services provided by Google, Yahoo, Microsoft, and others, it’s harder and harder to keep track of what photos you’ve actually saved to the computers you use every day.
And if you’re like most people, you probably use more than one computer, and maybe more than one cloud drive, so keeping track of where your photos are stored can get complicated quickly.
If you’re like most smartphone users, you probably have tons of photos saved on your mobile phone. But what happens when you need to transfer those photos to your computer? Or, maybe you want to transfer them to another device, such as a tablet or a USB flash drive?
While there are plenty of options available, you’ll usually need to connect the SD card device to your computer, and then you’ll be able to transfer the photos that way. Keep reading to learn how to save pictures from your Pantech Android smartphone to an SD card!
Steps of Saving Pictures from a Pantech Android Smartphone to an SD Card
Losing old photos or videos from your smartphone can be quite annoying, especially if you have a lot of them. And, with today’s phones being filled to the brim with images, videos and other types of files, you really can’t afford to lose any of them.
Thankfully, there are ways to save pictures from a pantech android phone to an sd card. Even if you’ve already deleted the files, there’s still a chance that you can recover them.
One way to extend the life of your smartphone is to move the pictures and videos stored on its internal storage to an SD card. But where do you find the pictures and how do you transfer them? Follow these steps to find a picture on the Pantech Android Smartphone and move it to the SD card.
- Step 1: Download free Photo Recovery (ASTRO File Manager).
- Step 2: Run Photo Recovery.
- Then Step 3: Choose a photo recovery mode to recover the lost photos.
- Step 4: Select the folder where lost photos are located, and the photo recovery software will start scanning and list all lost photos.
- Step 5: Preview and recover how to recover photos from an android phone.
Do you have pictures stored on your Pantech Android smartphone’s internal memory? If so, you can easily transfer those pictures to an external SD card by using a few simple steps as above I mentioned.
Note: Each Phone Manufacturer has a slightly different process for transferring photos from android to a memory card. That’s why we have created dedicated posts for each of them:
- If you are a Samsung owner, Check out this guide.
- If you are an LG Smartphone owner, go here
- If you are a Motorola user, read here for complete instructions on saving pictures to a memory card.
- Pantech User, read the dedicated guide here
Check that your pictures are not saved onto your internal storage
If you are planning to take pictures with your new digital camera, you may want to check to see if your camera has internal memory for managing your photos. If it does, you may also want to check to see if your photos are already saved on the internal memory. This can take the pressure off of your SD card.
You may have already noticed that your camera card has space, but your photos are not on it. This is because the camera has put them on the internal memory. You can tell if this is the case by doing a test. Simply remove the SD card from your camera, and plug it into another device. Then, see if you can view any of the photos.
If you’re thinking of taking lots of photos with your new phone — and you probably will be, since it’s sure to be a powerhouse camera — you’ll want to be sure you are always saving your photos to the SD card and not the cloud. This can help you avoid losing your photos if your phone gets lost or stolen.
Save your data from a Phone to an SD Card using ASTRO File Manager
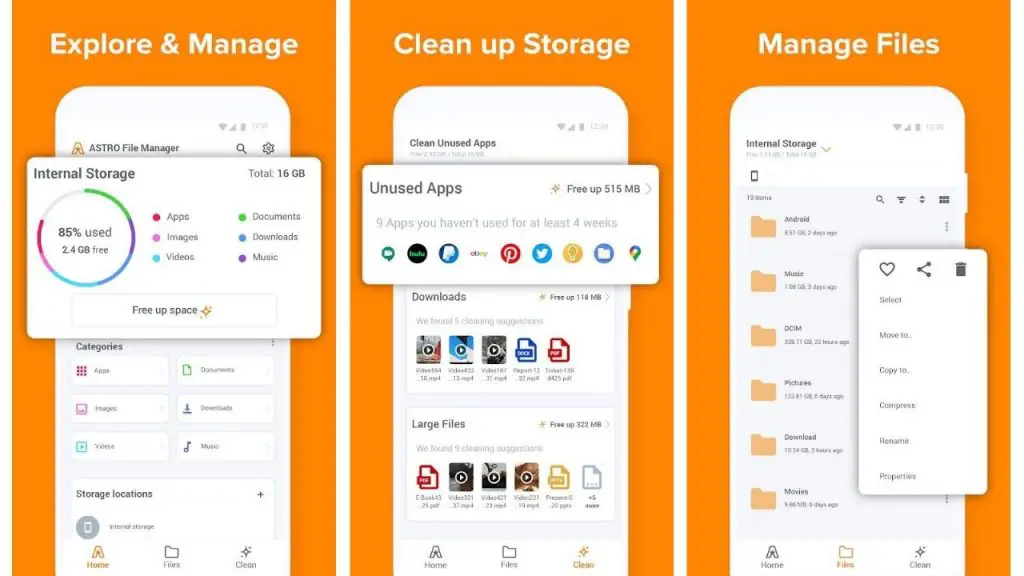
ASTRO File Manager is a powerful file manager for Android, which allows you to manage files quickly, easily, and conveniently. It also provides powerful file operations, including renaming, copying, moving, deleting, modifying, syncing, and more. I recommend using ASTRO File Manager to help you transfer contacts, messages, photos, etc.
Every Android smartphone has a file manager app pre-installed by default. This is the app that lets you access files stored on your phone, whether it’s the system files that are there by default or the files you’ve created and stored on external storage devices. The file manager’s name can vary, but it’s usually called something like “Files” or “My Files.”
Have you lost your Android phone, or has it died, and you have no backup or recovery? Don’t panic! With ASTRO File Manager, you can easily recover files from a phone, tablet, or SD card. ASTRO File Manager is a file management program for both PC and Android. You can recover files from Android phones and tablets, SD cards, and even from a computer.
A secure, reliable way to back up all of your information, contacts, and text messages from your Android device to a PC or Mac, or a photo storage device, is to use the ASTRO File Manager.
This free program works like a thumb drive or external hard drive and allows you to save all of your Android data to a removable storage medium. Here, you will get to know about the steps you need to backup and restore your Android device using this app, and you will also learn how to transfer your Android data from your PC to your Android device.
The ASTRO File Manager is an application that allows you to create directories, groups, and shortcuts on your SD card. It lets you access your SD card via WiFi, of course. The ASTRO File Manager allows you to scan, backup, and restore your SD card. You can also create new folders and shortcuts to important applications and files. The ASTRO File Manager is handy for saving data or backing up existing files. It allows you to back up data via a WiFi connection, and even create file backups via WiFi.
Other Useful Information
Smartphones have overtaken cameras in popularity, and as smartphones become more powerful and feature-rich, they are also more expensive. And, having expensive smartphones means losing important information if your phone breaks or gets lost.
(Did you know that Samsung alone loses nearly $1 billion every year from lost or stolen phones?) But the solution isn’t to buy expensive insurance, which can cost as much as $600 a year, according to Consumer Reports. Instead, you should learn how to save your information from an Android phone to a memory card using ASTRO File Manager.
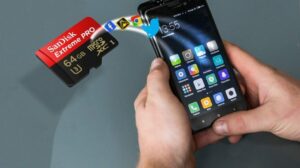
SanDisk recently announced its iXpand Flash Drive, a flash drive that plugs into any USB port on your Android phone or tablet and then allows you to easily transfer content to it. The iXpand Flash Drive is a slim USB flash drive that you can attach to your Android phone or tablet by way of a micro-USB cable. It somewhat resembles a stick of lip balm, but it’s much bulkier. The iXpand Flash Drive comes in 32GB, 64GB, and 128GB capacities.
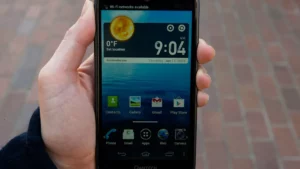
Smartphones have allowed us to store endless amounts of photos, videos, and other files on our devices. Unfortunately, not all Android devices have expandable storage, such as the Pantech Element Pro. The Element Pro, which is manufactured by Pantech, is a 5-inch Android phone with a 1.3GHz dual-core processor, 1GB of RAM, and 16GB of internal storage.
Unfortunately, the Element Pro does not have an SD card slot. This means that, if you need to store more photos, videos, songs, or documents on your phone, you will have to buy an SD card.
Use SD card instant of using internal storage
Are you an Android user? Or are you still using an Apple iPhone? Regardless of which device you own, chances are at some point you will run out of space on your internal hard drive, and will need to install a memory card on your Android phone, or transfer pictures from a Pantech Android phone to an SD card.
Today’s phones have storage capacities that exceed those of older phones, but hard drives are still the only multi-gigabyte storage device that most people have on their phones. And if you want to transfer pictures from your smartphone to an SD card, you will need to use a card reader, which plugs into your phone’s headphone jack and SD card slot and transfers pictures from your smartphone’s internal memory to the SD card.
Checking and saving pictures from your Pantech Android smartphone to an SD card is pretty easy. Start by making sure you have the latest software version installed on your phone. The app to do this is “Gallery” and is installed by default.
The Pantech Vega has a MicroSD card slot for adding external memory card storage. The cards generally cost between $10 and $20 and are easily located online. The Vega will take cards up to 64GB, and also works with SDHC cards up to 32GB.
Thanks for Reading
Pantech has been releasing quality, inexpensive smartphones over the last few years, and they have a large (and dedicated) following of users who are happy to get their hands on an affordable device. One of Pantech’s newest smartphones is the Pantech Burst, a low-end device with an 8MP camera and Android 5.1 installed.
The Burst is an affordable device, but not everyone has the budget to shell out over $200 for a smartphone, so Pantech also offers the Pantech Burst Plus, which offers more for $150. The Burst Plus is a mid-range device, but still well within most budgets.